
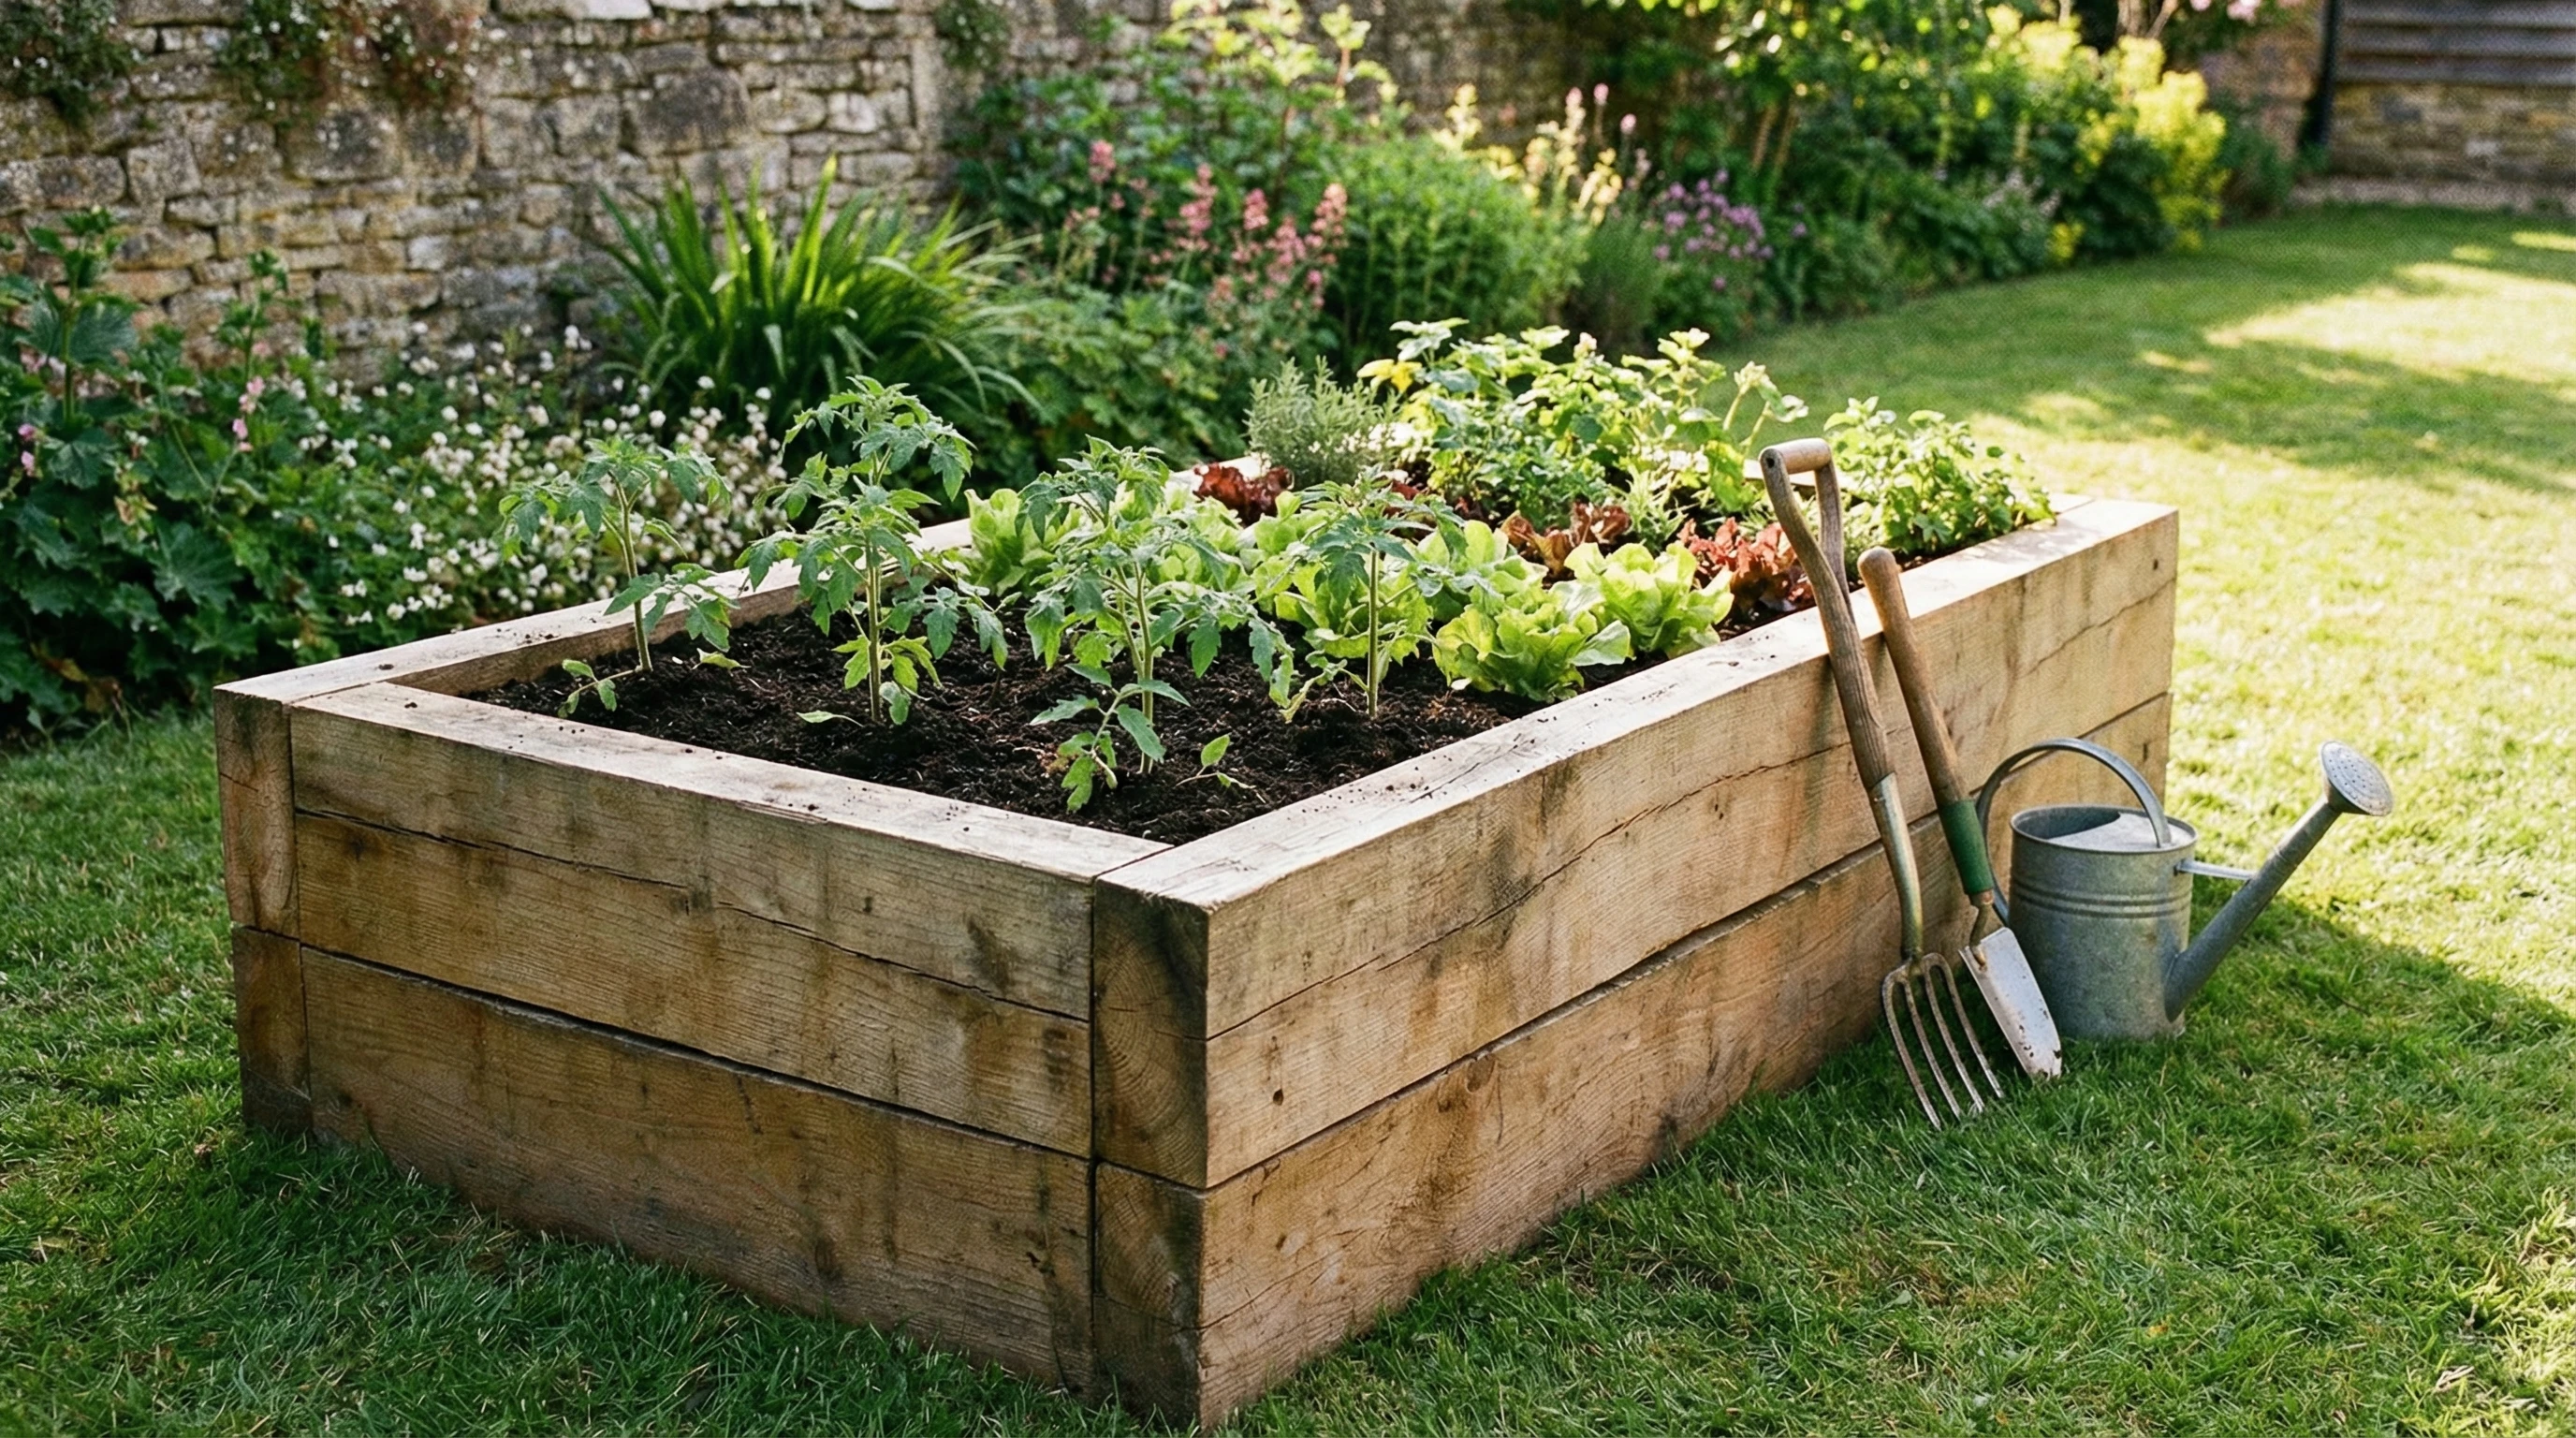
Building raised vegetable beds is a really straightforward way to boost your gardening experience, especially if you want healthier plants, better soil control, and a more organized growing space.
I’ve found it makes a big difference for folks starting out, and for those looking to grow a bit more efficiently.
Raised beds help you manage your garden, fight off weeds, and make watering much simpler.
So, here’s my full step-by-step guide to building your very own raised vegetable beds, from choosing materials to filling them up with the right soil.
Why Raised Vegetable Beds Are Worth Your Time
Raised beds are super useful for all kinds of gardens, big or small.
They can help solve a bunch of common problems, like poor native soil, bad drainage, or limited space.
By giving you more control over your soil, raised beds help your veggies grow strong and healthy from the start.
They also warm up faster in the spring, letting you plant earlier and sometimes sneak in an extra harvest before the season ends.
Stats from gardening surveys suggest gardeners with raised beds often see higher yields and fewer weeds.
Raised beds aren’t just helpful for seasoned gardeners.
They’re beginnerfriendly and pretty forgiving, which is really nice when you’re new or short on space and time.
People started using raised beds ages ago, and the idea has stuck around for a reason.
Whether you’re living in a city with only a tiny yard, or you just want to upgrade your existing garden, setting up a raised bed is a project that pays off.
I use them myself and I’ve helped others set up their first beds, even in small backyards or on patios.
If you don’t have a yard at all, raised beds on rooftops or balconies can let you try your hand at gardening too.
This approach really opens up possibilities for urban and suburban dwellers alike.
Picking the Best Materials and Location
Before you get to building, it helps to plan out your garden bed’s size and location and pick the right materials.
Here are some things you should consider:
- Material Choices: Most people use untreated wood (like cedar or redwood) because it’s durable and doesn’t leach chemicals into the soil. Other good options include composite boards, stone, or even repurposed bricks or concrete blocks. Avoid treated lumber; it can release stuff into your soil you probably don’t want in your veggies.
- Size and Height: The classic raised bed size is 4 feet wide and 8 feet long, with a height around 12 to 24 inches. 4 feet is just right; you can reach the middle from either side without stepping on the soil.
- Location: Look for a spot that gets at least 6-8 hours of sunlight a day. Steer clear of areas with too much shade or poor drainage.
If you’re working with a really small backyard, or just want to try things out, you can start with a smaller bed or even use a large container to test how things grow in your space.
Some people transform old bathtubs or stock tanks into productive raised beds for a rustic look and portable design.
Tools and Supplies You’ll Need
Getting everything together before you start is pretty handy.
Here’s what I use for most raised bed projects:
- Boards or chosen bed materials (for example, cedar planks, stone, composite)
- Galvanized screws or exterior wood screws
- Power drill or screwdriver
- Measuring tape
- Carpenter’s square or level
- Saw (if not precut)
- Shovel and garden rake
- Weed barrier fabric (optional but helpful)
Having the right materials on hand means fewer surprise trips to the store in the middle of building.
Most garden centers sell precut bed kits, but DIY beds also let you choose your perfect size and shape.
You might want a wheelbarrow to help with hauling soil, especially for larger beds.
Building the Raised Vegetable Bed: Step-by-Step
Setting up your raised bed can be done in a single afternoon.
Here are the steps I follow:
- Measure and Mark: Use a measuring tape to mark your bed’s exact length and width on the ground. Double-check the area gets enough sun and won’t block access to other parts of your yard.
- Prepare the Ground: Remove any grass, weeds, or big rocks where the bed will go. It’s okay if you don’t clear everything perfectly, since roots can break down naturally.
- Lay Out the Frame: Arrange your boards or blocks into a rectangle or square. Check corners with a carpenter’s square or level so everything lines up nicely.
- Secure the Corners: Drill pilot holes, then screw the boards together at each corner. Make sure your screws are long enough so the frame feels sturdy.
- Install Weed Barrier (Optional): Lining the bottom with weed barrier fabric helps keep grass and weeds from sneaking into your fresh soil. Leave the ends long so they overlap the inside of your boards.
- Level the Bed: Adjust the frame so it’s mostly level, especially if your yard is sloped. You can shovel or tamp down soil under the corners as needed.
With your frame in place, you’re ready to fill up with quality soil that sets your veggies up for success.
By putting some extra care into these steps, you’ll get a more durable and neat growing bed.
How to Fill Your Raised Bed With the Right Soil
The biggest difference with raised beds is the soil; you get to use a blend that’s loose, rich, and drains well.
This really helps your plants.
Here’s what I’ve found works well for most veggie beds:
- 50% topsoil (buy it from a local supplier or garden center; ask for clean, weedfree topsoil)
- 30% compost (homemade or storebought; this adds tons of nutrients and helps with soil structure)
- 20% peat moss or coconut coir (improves drainage and keeps the mix light)
Mix these together outside your bed with a shovel or rake if possible, then shovel it in.
Fill the bed almost to the top and leave about an inch or two to help with watering.
If you want, toss in some worm castings or slowrelease organic fertilizer to help the first round of crops.
Let the soil settle for a day or two before planting to see if you need to top it off.
Adding mulch on top after planting helps retain moisture and keep weeds at bay.
Refreshing your compost each season keeps your soil productive year after year, and you’ll notice soil quality stays exceptional compared to in-ground beds.
Common Challenges and How to Beat Them
No project’s totally smooth, so here are a few things I’ve noticed people run into, and how to fix them:
- Poor Drainage: If water’s pooling in your bed or makes the soil heavy and sticky, try loosening the ground underneath next time, and mix more sand or perlite into your soil.
- Wood Rot: Even rottolerant wood can break down after a few years, especially in wet climates. Sealing the outside (with foodsafe products) or lining interior boards with thick plastic can extend their life.
- Soil Settling: Beds might sink an inch or two after you water and the soil settles. Keep an extra bag of soil or compost nearby for quick topups.
- Animals Digging: Squirrels, cats, and dogs love loose soil. I use lightweight mesh covers or garden hoops to discourage them, especially when seeds are still sprouting.
Poor Drainage
Poor drainage can be a real headache and usually shows up if you build on compacted or clay soil.
Mixing in more compost, sand, or organic material helps open up the mix.
Planting waterloving crops like celery or certain greens in the low spots is another option.
Wood Rot
Wood rot comes from constant contact with moisture.
Cedar, redwood, or composite materials are my top pick since they’re slow to decay.
You can rotate the boards every couple years or patch problem spots as they come up.
Soil Settling
Soil always settles, especially after heavy rain or your first couple of waterings.
Keeping a mulch layer on top slows this down, and topping off the soil each spring keeps things at the right height for healthy roots.
Animals Digging
Some critters just can’t resist freshly dug beds.
Flexible chicken wire, mesh, or row covers keep seeds and seedlings protected until they’re established.
Most of these problems are avoidable with some easy tweaks, and each round of gardening teaches you nifty new tricks for next season.
And, remember, you can always adjust and shift your approach as you gain more experience.
Bonus Tips For Making Raised Beds Work For You
Once you’re comfortable, try giving your raised beds some cool upgrades:
Add a Drip Irrigation System:
Saves loads of time and keeps water at plant roots, where it matters most.
Drip kits are pretty easy to set up and flexible for oddshaped beds.
Mix in Vertical Supports:
Vining plants like peas, beans, and cucumbers love to climb.
Trellises or netting can be attached right to your bed’s frame for more growing space.
Go Modular:
Building two or three smaller beds instead of one big one lets you rotate crops and manage soil health more easily between planting seasons.
You can even set up frames for frost cloths, bug netting, or shade covers during hot spells.
I’ve found these tweaks make gardening even more fun and efficient; more veggies with less hassle!
If you want to get even more advanced, try adding a soil thermometer or moisture sensor.
These tools help you keep conditions optimal for consistent yields.
Best Crops to Plant in Raised Vegetable Beds
- Lettuce, spinach, and greens: Fastgrowing and love the loose soil mix.
- Carrots and root veggies: They grow straighter in the deep, rockfree conditions of raised beds.
- Tomatoes and peppers: Thrive in the warm, loose soil that drains well.
- Herbs: Raised beds make picking easy and protect them from groundlevel pests.
You can grow pretty much anything in a raised bed, but these crops do especially well.
Squash, zucchini, and even some compact melons work for those with enough room.
Raised beds also help gardeners stagger plantings for continual harvests all season.
Frequently Asked Questions
Here are a few common questions people ask when planning raised vegetable beds:
How long do wooden raised beds last?
Most untreated wood beds last 5–10 years, depending on weather and wood type.
Cedar and redwood go the distance, while pine breaks down quicker.
Stone or composite options usually last even longer.
Do I need to use a liner at the bottom of my bed?
Lining helps keep weeds out and makes wood last longer (if you use something like thick landscape fabric).
Don’t use plastic without poking holes for drainage, since you never want standing water.
How much soil does my bed need?
Multiply your bed’s length x width x height (in feet), then use that number for total cubic feet of soil.
Most garden centers sell soil and compost by the bag or by bulk, so knowing your cubic footage helps a lot.
What vegetables should beginners plant first?
Greens like lettuce and spinach, radishes, and bush beans are easy wins for those just starting.
They’re fast to mature and don’t need much fussing over.
This makes them great for learning about raised bed gardening while still seeing satisfying results.
Final Thoughts
Building a raised vegetable bed brings a bunch of benefits, from easy maintenance to quicker harvests and betterlooking veggies.
You don’t need fancy skills or a huge budget, just some basic materials and a bit of effort.
Start small if you’re new, and you’ll pick up your own favorite methods as you go.
I really enjoy how raised beds make gardening accessible and rewarding, whether you’re a weekend tinkerer or you want fresh salad every day.
Give it a shot this season—you might just track down a new favorite hobby (plus, super fresh food straight from your backyard never gets old).