
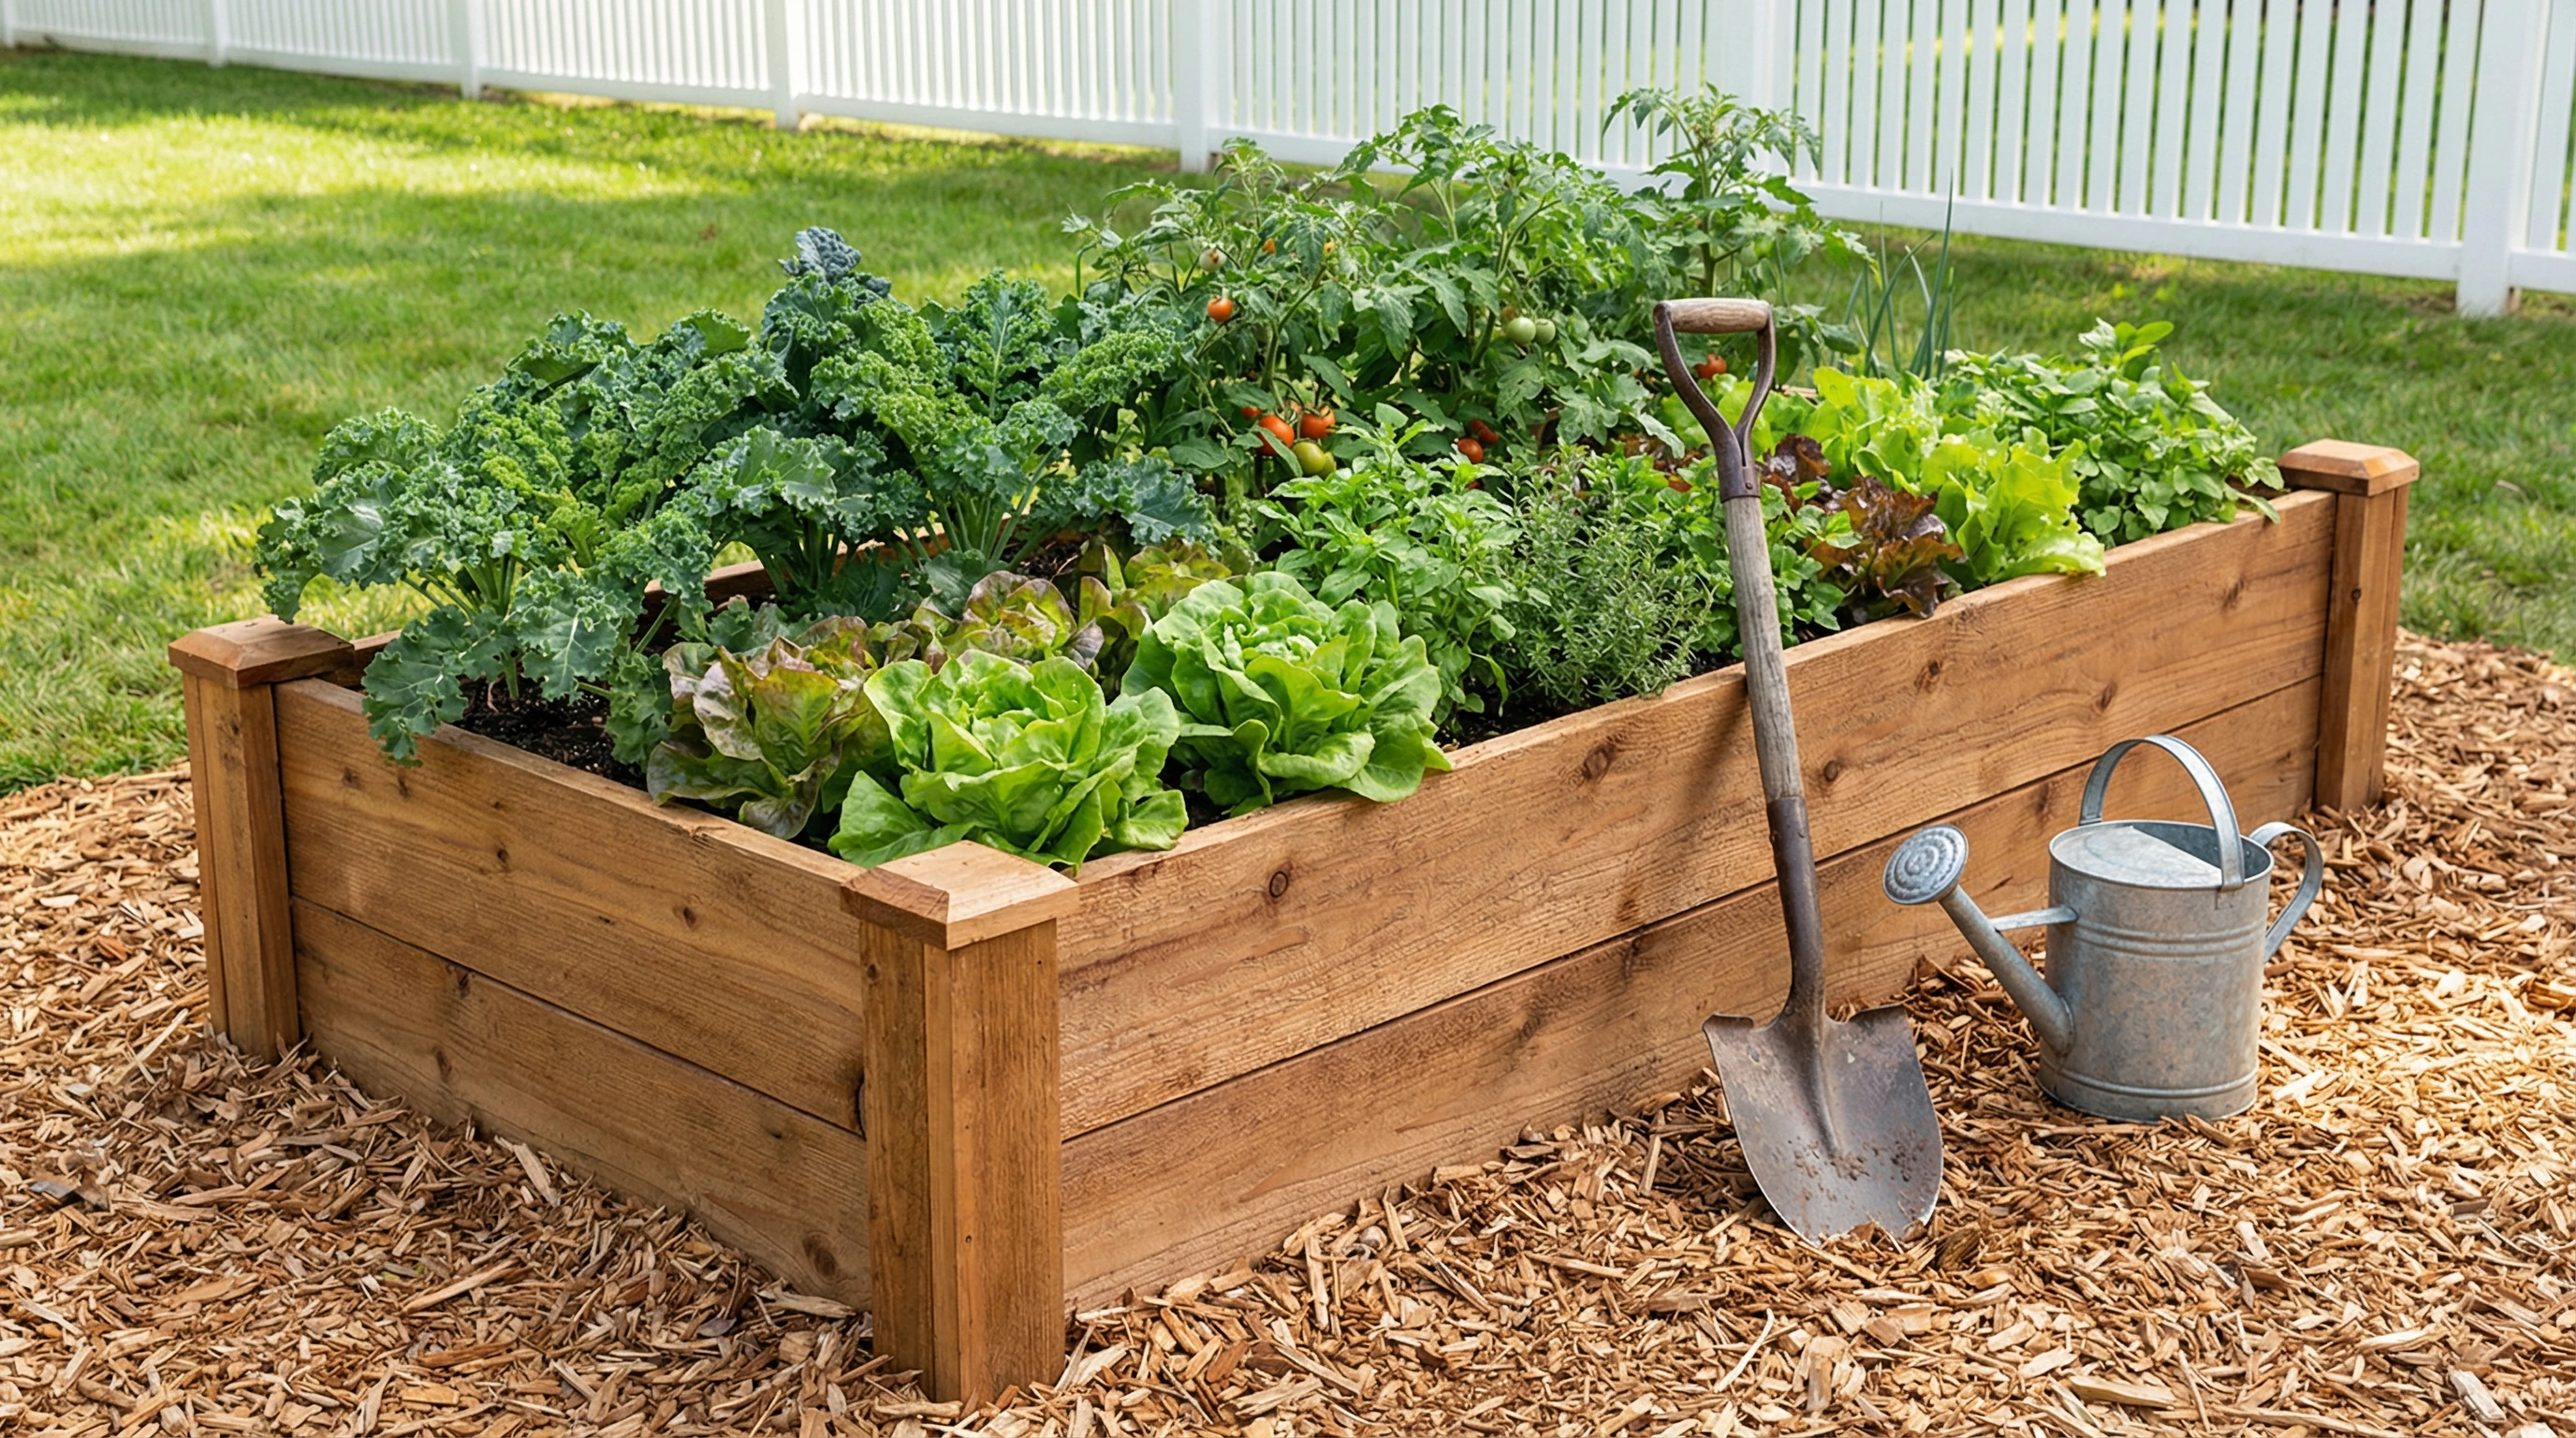
Raised beds really come in handy for small space gardening, urban plots, or anyone who wants a more organized and attractive vegetable garden.
They help beat poor soil, make planting a lot easier on the back, and often mean fewer weeds and better harvests.
I always recommend giving raised beds a try if you’re looking to boost your veggie-growing results with less fuss and effort.
Why Use Raised Beds for Vegetable Gardening?
Raised beds have become a pretty popular way to garden, especially for folks with less than perfect soil or tight spaces.
Gardeners have been growing in mounds or built up rows for hundreds of years, but modern raised beds use frames made of wood, stone, or recycled plastic to hold rich, loose soil right where you want it.
I’ve found you can tuck a raised bed almost anywhere the sun shines, even on concrete patios.
This method offers better drainage, warms up the soil earlier in spring, and keeps soil from getting compacted.
Raised beds also make crop rotation and plant spacing a lot easier to manage, which helps you grow healthier veggies and keep pests under control.
They’re a smart pick if your garden soil is rocky, heavy clay, sandy, or even if you just want less bending and easier access.
Getting Ready: Materials and Planning
Before you break out the shovel, you’ll want to have a plan for your raised bed.
Picking the right location is important; full sun (at least 6-8 hours a day) will give your veggies the best start.
Avoid putting beds directly under trees or in spots that flood when it rains.
I always double-check how close a hose or water source is, since carrying watering cans gets old fast!
Materials you’ll need depend on your budget and style.
Cedar and redwood last longer and naturally resist rot, but pine works too if you’re looking to save a bit—it just might need replacing sooner.
Untreated lumber is the safer way to go, especially when growing edible plants.
Recycled composite boards or stone blocks are other good options, and you can build beds as simple or fancy as you like.
For each bed, grab:
- Lumber, stone, or recycled boards (use boards at least 8 to 12 inches wide and 1 to 2 inches thick)
- Galvanized screws or exterior wood screws
- Measuring tape, saw, and drill
- Cardboard or newspaper (to block weeds)
- Good quality soil and compost
Consider the size. I aim for beds no wider than 4 feet so you can reach in from either side and keep them around 6 to 8 feet long, otherwise they can start to bow out or just get tricky to plant.
Height can range from 6 inches to 24 inches, depending on your needs and what you’re planting.
If you’ll be growing root crops, deeper beds work best.
Building Your Raised Bed: Step-by-Step
Building a basic garden bed isn’t as tough as it sounds, even if you’re new to DIY projects.
Here’s how I usually set mine up:
- Mark Out the Spot: Lay a garden hose or string on the ground to outline the shape and size you want. Clear grass or weeds from the area.
- Prepare the Ground: Lay down cardboard or several sheets of newspaper to block weeds beneath your new bed, and overlap pieces so nothing pokes through.
- Build the Frame: Cut boards to your chosen size. For a classic 4 by 8 foot bed, you’ll need two 8 foot boards and two 4 footers. Screw the boards together to make a sturdy rectangle.
- Set the Frame in Place: Place your frame on top of the prepped ground. Make sure it’s level; this helps water soak in evenly.
- Fill with Soil: Mix garden soil with compost for a loose, rich blend. Fill the bed up, leaving a couple of inches at the top for watering space. I use about 60% topsoil, 30% compost, and 10% other amendments like worm castings or organic fertilizer.
Give your new soil a good soak so it settles.
It will settle more after a few days, so you may want to top it off at that point.
What to Plant and When
Raised beds let you start planting a little earlier in the season, since the soil warms up faster than ground level beds.
What you choose to plant really depends on your local climate and what you like to eat, but I always start with easy veggies—leafy greens, radishes, bush beans, and compact tomato varieties all do well in new raised beds.
Herbs and strawberries are great too, since they don’t spread much.
Staggering your planting helps you harvest fresh produce for longer.
Cool season crops like lettuce, peas, and spinach are perfect for spring and fall, while summer crops such as tomatoes, squash, and peppers need more heat and sun.
Carrots, beets, and onions love the deeper, softer soils that raised beds provide.
If you want flowers for pollinators or to add color, tuck marigolds, nasturtiums, or zinnias in the corners or around the edges.
This attracts beneficial insects and can help keep pests away naturally.
Dealing with Common Challenges
Even though raised beds are pretty low maintenance, there are a few things I watch out for:
- Watering: Raised beds dry out faster than inground beds. Installing a simple soaker hose or drip line beneath mulch saves a lot of time, and gives roots a steady drink without waste.
- Pests: Slugs, rabbits, and even birds can sniff out your veggies. Floating row covers protect young plants, and a mulch of straw or leaf litter can trip up crawling insects.
- Soil Settlement: Expect your soil to compact and settle during the first season. I add a bit more compost or topsoil each spring to keep things fluffy and fertile.
Watering Tips
A good mulch layer keeps moisture in and cuts down on weeds.
Try straw, shredded leaves, or even grass clippings (as long as they’re untreated).
I water early in the day so the sun helps dry leaves, which means less trouble with fungal diseases.
In hotter climates, I sometimes add a second light watering in the evening if the soil feels dry a couple inches down.
Protecting Against Pests
Chicken wire or garden mesh can stop critters from digging in.
I check for holes or gaps every week and move row covers on and off as seasons change.
For aphids or beetles, giving plants a quick rinse with water or using insecticidal soap can usually keep things in check without harsh chemicals.
Inviting birds to the area by adding a birdbath or feeder may also help keep insect numbers down.
Expanding or Customizing Your Setup
Once you see how manageable a raised bed is, adding more beds or creating custom shapes for small spaces is super easy.
You can go vertical with trellises for peas or cucumbers, or tuck flower beds around the corners to invite pollinators.
I’ve even built narrow beds for growing herbs along my walkway or filled old tubs and barrels for extra planting spots.
- Trellises: Add sturdy supports for climbing plants like beans, cucumbers, or tomatoes. This saves space and keeps fruits off the soil.
- Pathways: Leave at least 18 to 24 inches between beds for walking or rolling a wheelbarrow through. Cover paths with mulch or wood chips to keep weeds down.
- Cold Frames or Covers: If you want to get a jump on the growing season or extend it in fall, you can build a simple cold frame using scrap windows and some hinges. Row covers and hoop tunnels work well too.
If you’re tight on space, try making a taller bed with built-in seating on the edges, or go vertical with stacked planters for strawberries and herbs.
Personalizing your setup lets you make the most of whatever yard or patio area you have.
Frequently Asked Questions
Some new gardeners have a few common questions about raised beds.
Here’s what I usually get asked:
Question: Can I use treated lumber for raised beds?
Answer:
Modern pressure-treated lumber is a lot safer than it used to be, but most gardeners (myself included) stick with untreated wood, cedar, redwood, or composite boards, especially when growing vegetables.
Question: Do I really need to dig up the grass before building my bed?
Answer:
Nope—layering cardboard and building right on top works great.
The cardboard blocks weeds and the grass below breaks down, feeding the soil over time.
Question: How often should I replace or refresh my soil?
Answer:
You can freshen the top 2 to 3 inches with compost each year, but you shouldn’t need to fully swap out soil for several seasons if you keep amending and rotating crops.
Question: Is there a best time of year to build a raised bed?
Answer:
The best times are early spring or fall, when the weather is cool and you can get ready for planting without the summer rush.
But you truly can build a raised bed any time as long as the ground isn’t frozen.
Starting Your Raised Bed Adventure
Creating a raised bed for your vegetable garden makes growing food way more doable and enjoyable, especially for small spaces or tough soils.
Pick your spot, grab the right supplies, and get creative with your garden layout.
Whether you’re a first-timer or an old hand, raised beds can help bring better vegetables and a bit more joy to your gardening routine.
Grab those tools and plant your favorites.
Fresh homegrown veggies really are worth the effort!