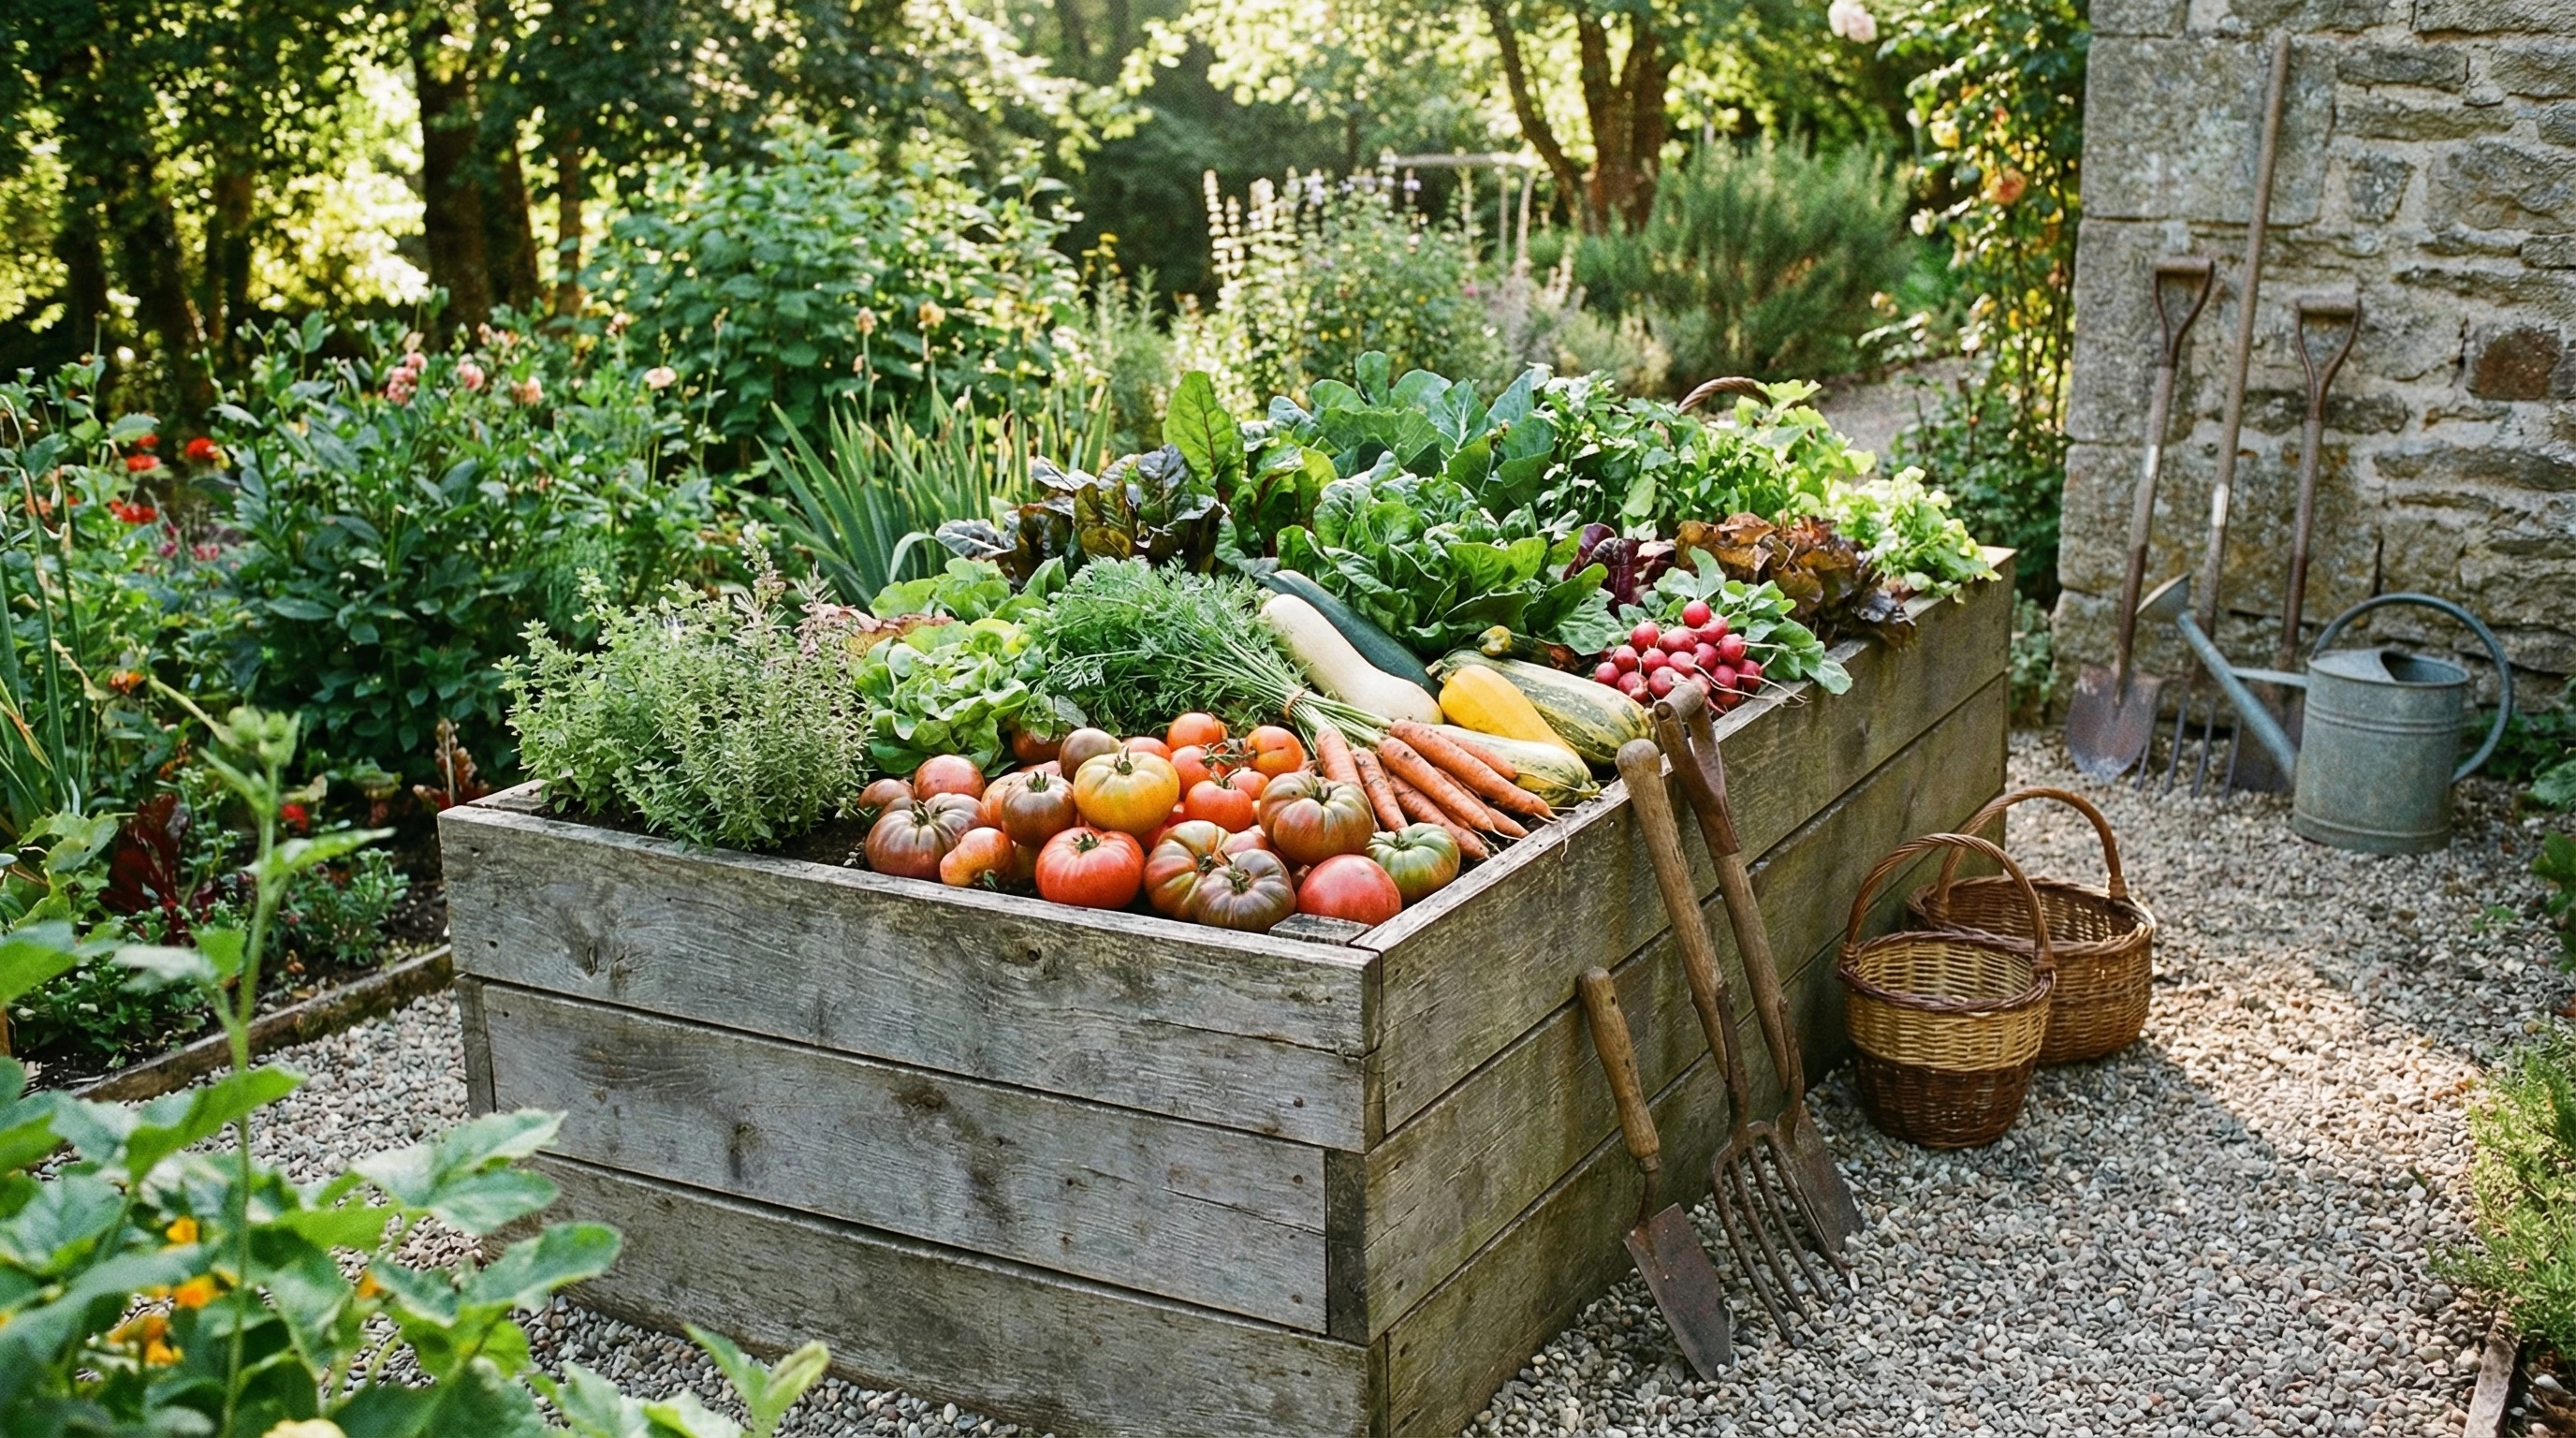
Bringing home vegetables fresh from your own garden feels really satisfying.
With the right know-how, I can make sure my hard work pays off every time I harvest and store my crops.
Whether I’m picking tomatoes at the perfect ripeness or saving carrots for use months later, a little planning can make a big difference to flavor and freshness.
Here, I’ll walk you through my best tips and methods for harvesting and storing vegetables from my garden beds.
Why Harvesting and Storing Properly Matters
Growing vegetables takes effort and patience.
If I pick and store them right, I get to enjoy their taste at its best and minimize spoilage.
Proper handling helps preserve vitamins and crunchiness, and lets me savor flavors longer into the season.
I’ve noticed that even a few small changes to my routine can keep my veggies crisp, colorful, and tasty much longer than if I just leave them out on the counter or in a plastic bag.
I also save money and reduce waste when I store my harvest properly.
Store-bought produce often starts to decline within a few days, but home-stored vegetables can last for weeks or even months.
Knowing the basics of harvest timing and storage options makes a big difference for me, especially in peak harvest months.
Keeping your veggies in peak shape helps lower your grocery bill over time and cuts down on food waste, which is both eco-friendly and satisfying for any gardener.
Key Harvesting Tips for Garden Vegetables
Each vegetable has its own ideal harvesting time and method.
Picking vegetables when they’re just right means better flavor and longer shelf life.
Over the years, I’ve found a few reliable approaches for some of the most common garden crops.
Let me share some practical, real-world advice that has worked for me:
- Tomatoes: I wait until they’re fully colored and just starting to soften on the vine. Picking too early can mean less sweetness. If frost threatens, I pick mature green tomatoes and let them finish ripening indoors.
- Carrots and Beets: I check the shoulder diameter at the soil line. For most home gardens, I aim for 1–1.5 inches in width. I gently loosen the soil before pulling roots to avoid damage.
- Leafy Greens (like lettuce, spinach, kale): I take outer leaves first, cutting with sharp scissors in the morning when leaves are crisp and cool.
- Peppers and Beans: I pick when the skin is glossy and firm. For beans, I harvest before the seeds inside the pods start bulging.
- Squash and Cucumbers: Regular picking encourages more to grow. I avoid waiting too long, since oversized squash and cucumbers often lose their best texture and flavor.
Morning is the best time for most harvesting, because vegetables are hydrated and cool.
After picking, I keep them out of direct sunlight and avoid washing until I’m ready to use or store them, since water speeds up spoilage for many crops.
Taking the extra time to inspect and sort during harvest saves headaches later when you prep for storage or a meal.
Step-by-Step Guide to the Harvesting Process
- Know Your Crop’s Signs of Maturity: I check seed packets or online guides for clues to ripeness, like color, size, or days to maturity.
- Use Clean, Sharp Tools: I sanitize pruners and scissors to avoid spreading disease between plants.
- Handle with Care: Bruising and cuts can lead to mold or waste. For root crops, I brush off soil gently and never bang the veggies together.
- Sort and Inspect: After harvesting, I check my haul. I separate damaged or overripe vegetables for immediate use and only store those in good condition.
Stay patient and take your time; hurrying often leads to unnecessary damage and disappointment with the quality of your vegetables.
Common Challenges in Harvesting and Storing
- Timing the Harvest: Missing the narrow window for peak flavor happens to me now and then. Frequent garden visits let me catch those single days when crops are just right.
- Damage from Handling: Rough handling can bruise soft tomatoes or snap peas. I’ve learned to use a basket lined with a towel for cushioning.
- Heat and Sunlight: Vegetables left in the heat after picking wilt quickly. I keep a shaded basket or tray with me in the garden for quick collection.
- Mixing Varieties: Some veggies like apples and tomatoes give off ethylene gas, which speeds ripening. I don’t store these with sensitive crops like leafy greens or carrots to keep everything fresh longer.
Take extra caution when handling delicate produce and sort your harvest as soon as possible after picking; it will pay off in freshness and less food waste.
Understanding how different veggies interact can make a huge difference in what you can enjoy weeks, or even months, later.
How I Prepare My Harvest for Storage
I sort vegetables by type and condition first.
Most root crops need only gentle brushing off and time to dry.
Leafy greens get a quick rinse and spin in a salad spinner, then I wrap them in a paper towel before putting them in the fridge.
For tomatoes and peppers, I keep them at room temperature until fully ripe, then refrigerate to slow spoilage.
I group similar vegetables together, since this makes it easier to track what needs to be used first.
Paying attention to moisture is crucial: too much and you’ll battle mold; too little and veggies shrivel.
Balancing humidity with airflow, and making adjustments as the seasons change, really extends the time you have to enjoy your garden bounty.
My Favorite Storage Methods for Common Vegetables
Each crop has its own needs when it comes to storage.
Some do well in a cool pantry, while others last longer in the fridge or even buried in sand.
Here are a few methods I’ve used successfully:
- Refrigeration: Great for greens, carrots, and most beans. I put washed and dried greens in open bags or wrapped in a damp towel. Root veggies go in perforated plastic bags or containers with a little moisture to avoid shriveling.
- Cellar Storage: My root crops like carrots, beets, and potatoes last much longer in a cool, dark, damp cellar or garage. I store them in boxes of sand or sawdust and check for soft spots every couple of weeks.
- Room Temperature: Onions, garlic, and cured squash keep best in a dry, well-ventilated space out of direct sun. I hang onions in mesh bags or stack squash on shelves.
- Ripening Indoors: I let tomatoes or melons finish ripening on the counter, away from direct sunlight. I check daily, since overripening happens fast.
Growing a variety of vegetables helps you experiment with different techniques, so you can find what works best for your crops and your storage space.
Extra Tips for Long-Term Storage
If I want to keep vegetables longer, I use freezing, pickling, or canning.
Freezing works well for beans, peas, and broccoli after a quick blanch in boiling water.
Pickling cucumbers, beets, and green beans not only preserves them but adds a punch of flavor.
Canning is a bit more involved, but it’s worth it for tomato sauce or relishes that I use all winter.
I always label everything with the harvest date.
This simple habit helps me use up older produce first and avoid forgotten containers in the back of the fridge or freezer.
Creating a rotating system based on these dates reduces food waste and keeps your kitchen well-stocked with nutritious, homegrown options throughout the year.
Real-World Experiences from My Own Garden
I once tried keeping freshly dug potatoes in a warm basement.
Within a few weeks, many had sprouted or rotted.
Now, I use a cool, dark garage with good ventilation and have no trouble keeping potatoes until spring.
Another time, I lost an entire batch of lettuce to soggy leaves because I washed and stored them while still dripping wet.
Now, I pat leaves dry thoroughly and wrap them in a towel before storing, and I haven’t had issues since.
After a rain, I always wait until my garden has dried out to harvest root vegetables, which helps avoid trapped moisture and mold.
Learning from these small mistakes has made a big difference in how much of my harvest I actually get to enjoy.
Success often comes from paying attention to small details and being willing to adjust methods each season.
The more I grow, the better I get at tracking what each vegetable needs to last longer.
Common Questions About Harvesting and Storing Garden Vegetables
Question: How do I know when my vegetables are ready to pick?
Answer:
I look for color, size, and firmness.
For tomatoes, I gently squeeze to see if they give slightly.
Root crops like carrots show their shoulders above the soil.
Greens taste best before they bolt, which is when the plants start making flowers.
Question: Should I wash vegetables before storing them?
Answer:
Most of the time, I don’t wash vegetables before storage, since moisture can lead to rot quickly, especially for root crops.
The exception is leafy greens, which I wash and dry well before placing in the fridge.
Question: How can I keep my stored vegetables from spoiling?
Answer:
I sort everything before putting it away, discard anything that’s bruised or showing signs of rot, and keep storage areas dry and well ventilated.
Checking on crops every week or two helps me catch problems early.
Question: Can I store all vegetables together?
Answer:
I avoid storing ethylene-producing items like apples and tomatoes near sensitive crops like greens or carrots, since this can make them go soft or spoil sooner.
Choosing the Right Storage Tools and Equipment
Having the right bins, bags, and shelves really helps me keep my harvest fresh.
I use mesh bags for onions, ventilated plastic boxes for carrots, and clean glass jars for pickles or jams.
A simple digital thermometer helps me monitor cellar temperature so I know conditions are right for storage.
If I’m short on space, stacking crates and shelving units helps keep everything organized.
- Mesh and cloth bags allow for air flow around veggies.
- Plastic bins with holes let me regulate moisture for root crops.
- Paper towels and containers wick extra water from greens.
- Labels and markers keep me organized and help avoid food waste.
These tools have made my harvest season smoother, and I waste far less food than when I just stashed everything in a single big bag or bin.
If I’m experimenting with new storage methods, I always start with a small batch to see what works best before scaling up.
Over time, a well-organized storage setup makes gardening much more rewarding, and you’ll be surprised by how long your vegetable supply can last with just a little extra attention.
Gardening brings a steady supply of fresh food, but getting the most from my harvest depends on smart, gentle handling and the right storage for each crop.
Each year, a few tweaks make my results even better.
The satisfaction of eating your vegetables long after summer ends is worth the extra effort!